Canelés de Bordeaux
updated 05/23/2020
Canelés are a French dessert, essentially a cross between baked custard and a cake. It’s a light dessert and is not overly sweet — a nice end to a hearty meal.
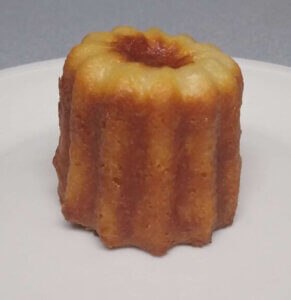
This recipe requires special molds that are hideously expensive. The real molds are made of copper, which produces a crisp exterior and soft, spongy interior. From what I’ve read, molds made of other materials work, but the best result comes from copper molds.
I was given a set of 4 copper molds for Christmas, which sat for a few months until I got the gumption to make the recipe. The batter was far more than necessary to fill the molds, so I used the tip of putting the remainder in a small-sized muffin tin. This worked but the ones made in the mold tasted a lot better — the texture affects the taste perception, and the round mini-muffin sized canelés could not compete.
Recently I was going to purchase more copper molds, but the special price available at Christmas is no longer available. The current price is WAY too rich for my blood! Instead I purchased a much cheaper silicon mold that makes 6 canelés. This is far more wallet-friendly … we’ll see what the results are.
Canelés de Bordeaux
FILLING:
- 1 cup all-purpose flour
- 1 cup white sugar
- 4 egg yolks
- 1/4 cup rum (or cognac)
- 1 tsp vanilla extract
- 1/4 tsp kosher salt
- 2 cups whole milk
- 2 Tbsp unsalted butter
GREASING PAN:
- 2 Tbsp + 1 tsp butter
- 2 Tbsp beeswax
Place flour, sugar, egg yolks, rum, vanilla extract, and salt in a mixing bowl. Mix and smear into a smooth paste using a spatula. Continue mixing until flour is fully incorporated.
The second time I made this I used cognac instead of rum.
Place butter and pour milk into a saucepan. Bring to a simmer over medium-high heat. As soon as milk mixture comes to a simmer, remove from heat. Slowly add half the milk to the flour mixture to prevent the egg yolks from cooking. Whisk until well blended and smooth. Slowly pour in the rest of the milk mixture; whisk until batter is smooth. Batter will be thin.
Preheat oven to 450 F.

Greasing Pan: Melt butter and beeswax in a skillet over medium heat. Stir with a pastry brush. Remove from heat. Brush the bottom and the sides of each muffin cup generously with the butter/beeswax mixture.
Ladle batter into muffin cups until mixture is almost to the top. Place pan in preheated oven. Bake 10 minutes.
Reduce heat to 375 F. Bake until canelés are very well browned, about 50 minutes.
Allow to cool just 5 minutes. Run a thin blade around the sides and carefully remove canelés from cups. Invert onto a cooling rack. Let cool completely to room temperature to create the crispy surface.
Note: I put the molds on a baking sheet. The butter/beeswax melts and overflows a bit, so ALWAYS put a pan underneath! The first batch, I had to scrape the pan. The second batch I lined the sheet with parchment paper — it absorbed the excess wax and cleanup of the baking sheet was a breeze!
My Results
I’ve made canelés twice — Batch #1 used copper canelés molds and a mini-muff pan. Batch #2 used copper canelés molds and a silicone canelés mold.
Batch #1
I made this batch with rum, which was recommended.
Batch #1 produced good results in the canelés mold, and misshapen results in the mini-muffin pan. The mini-muffin ones tasted ok, but did not wow. The desserts came out too dense and were not really crunchy on the outside.
When cut open, the mini-muffins were solid.
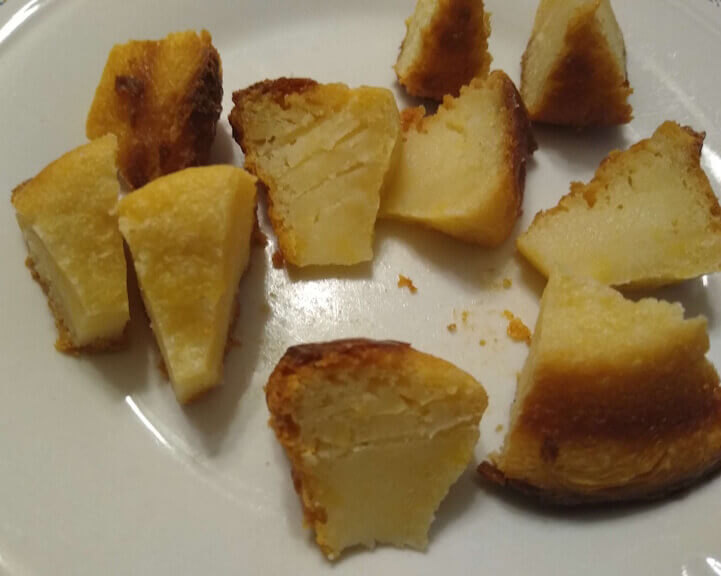
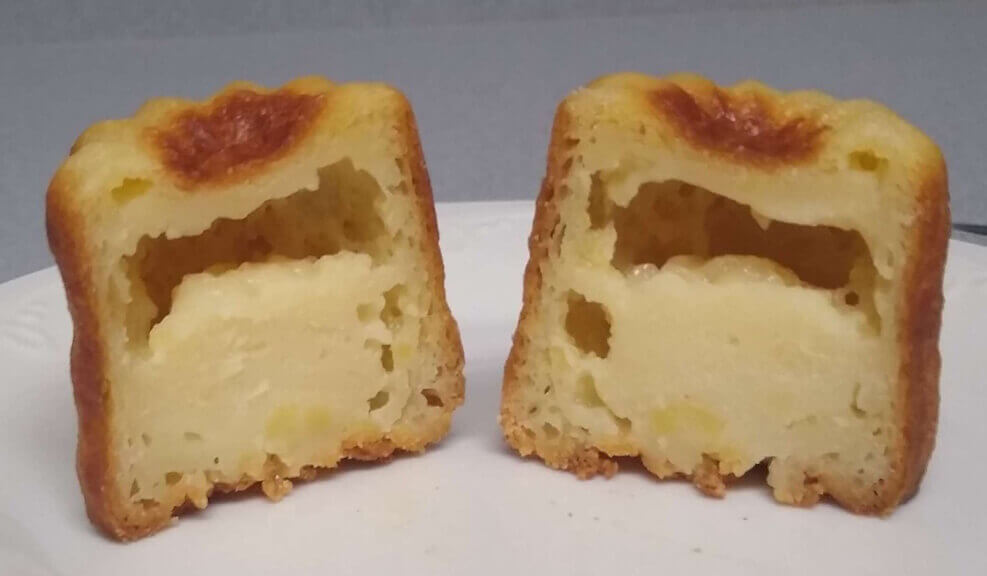
While the copper molds were partially hollow. I know the mini-muffins were not right, but wasn’t sure about the ones from the molds. They didn’t seem quite as custardy as had been described. Overall, I was a bit disappointed, but it was the first batch, so I wasn’t giving up.
Batch #2
I made this batch with cognac, just to see the difference. There is a slight taste difference, but the better results of this batch make judging difficult.
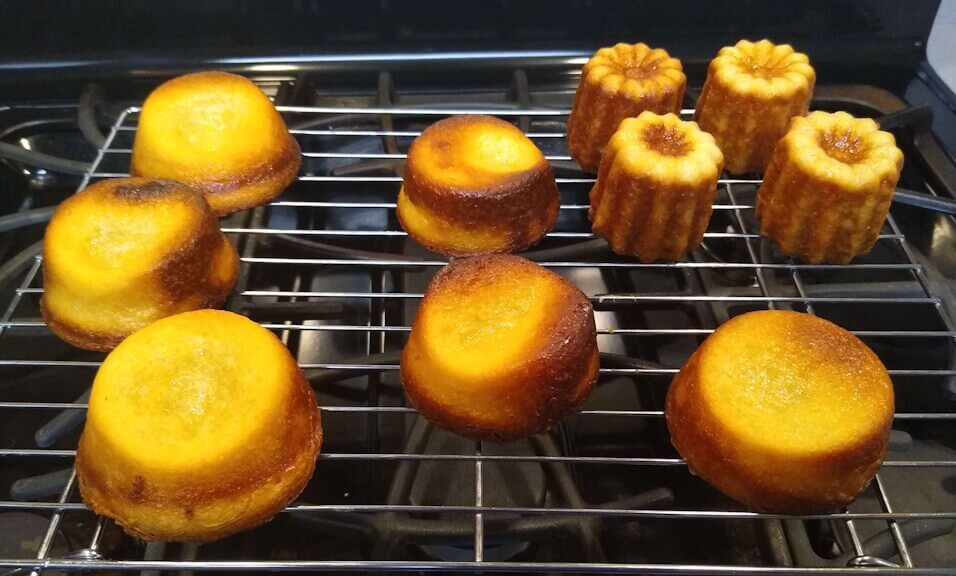
Batch #2 appeared to come out a lot better. The one on the left in the following picture is from the silicone mold. It’s a big shorter and wasn’t as stiff on the outside. The ones from copper stood tall, while the silicon wobbled a bit.

The top view shows other differences, although at this point I have no idea if the differences are significant. In any case, after cooling for an hour, all were crunchy on the outside.

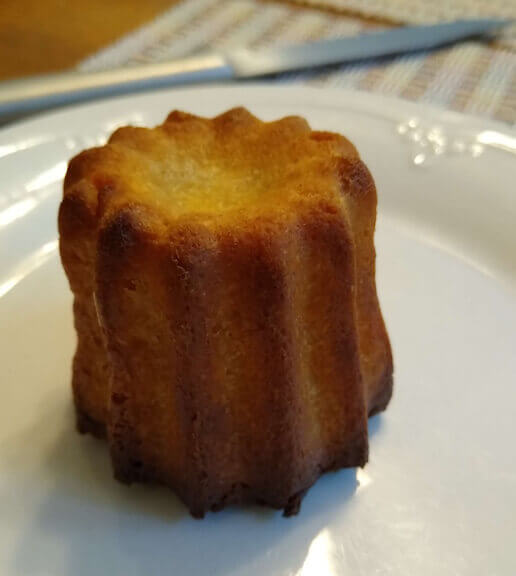
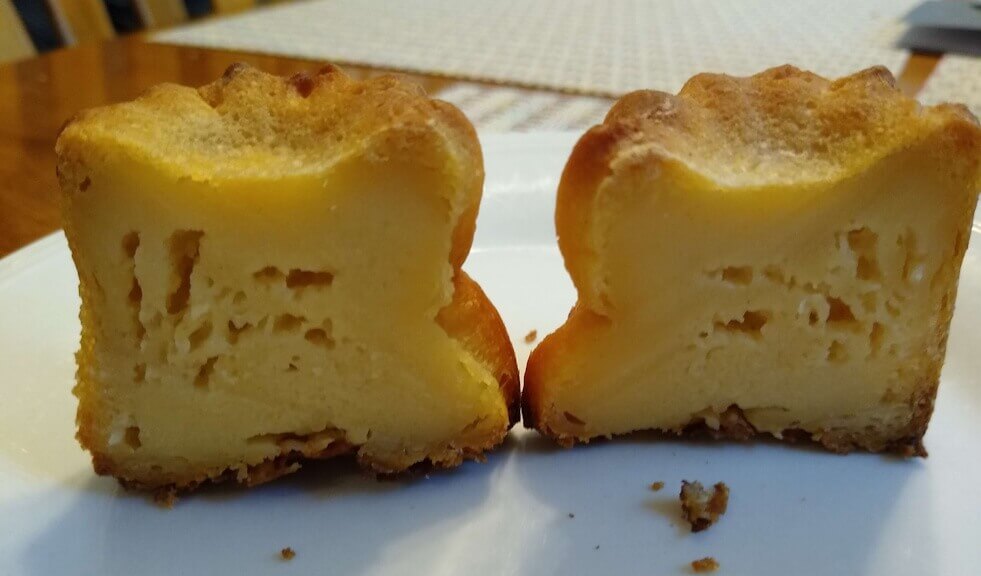
We tasted the silicon ones — WOW! Crunchy on the outside, creamy inside. These are seriously delicious. And as already noted, are light, small (some folks will want to eat the entire batch), and not overly sweet.
Following are 3 views of the one I tested. The second photo shows the “top”, which is the top during baking and bottom when served. Tomorrow we’ll try the ones from the copper molds.
[I like the term “tested”. It sounds better than “pigged out on a really good dessert”.]

Note on the silicon mold: The box said to put the mold directly on the grate, not on a baking sheet. This is supposed to improve heat conduction.
However … it’s really soft and I could not figure out how to get it into the oven without spilling batter all over the oven. So I put it on a baking sheet. If I can figure out how to get it into the oven without, I’ll try that.
